How to Trim Dog Nails at Home Without Losing Your Mind (or a Finger)
Advertisements
Here’s a stat that honestly shocked me — roughly 80% of dog owners say they dread nail trimming more than any other grooming task. I was absolutely one of those people! The first time I tried to trim dog nails at home, my golden retriever Max acted like I was performing surgery without anesthesia, and I ended up more traumatized than he was.
But here’s the thing — keeping your dog’s nails at a healthy length is super important. Overgrown nails can cause pain, affect your dog’s posture, and even lead to joint problems over time. So I had to figure this out, and after years of trial and error (heavy on the error), I’ve got a system that actually works.
Why You Should Bother Clipping Dog Nails Yourself
Look, I used to pay the groomer $15 every two weeks for a nail trim. That adds up to almost $400 a year, which is honestly ridiculous when you think about it. Learning to do it at home saves money and reduces your dog’s stress since many pups get anxious at the groomer’s office.
Plus, regular at-home dog nail maintenance helps you bond with your pet. It took a while, but now Max actually lies down and gives me his paw like he’s getting a spa treatment. Well, most days anyway.
The Tools You Actually Need
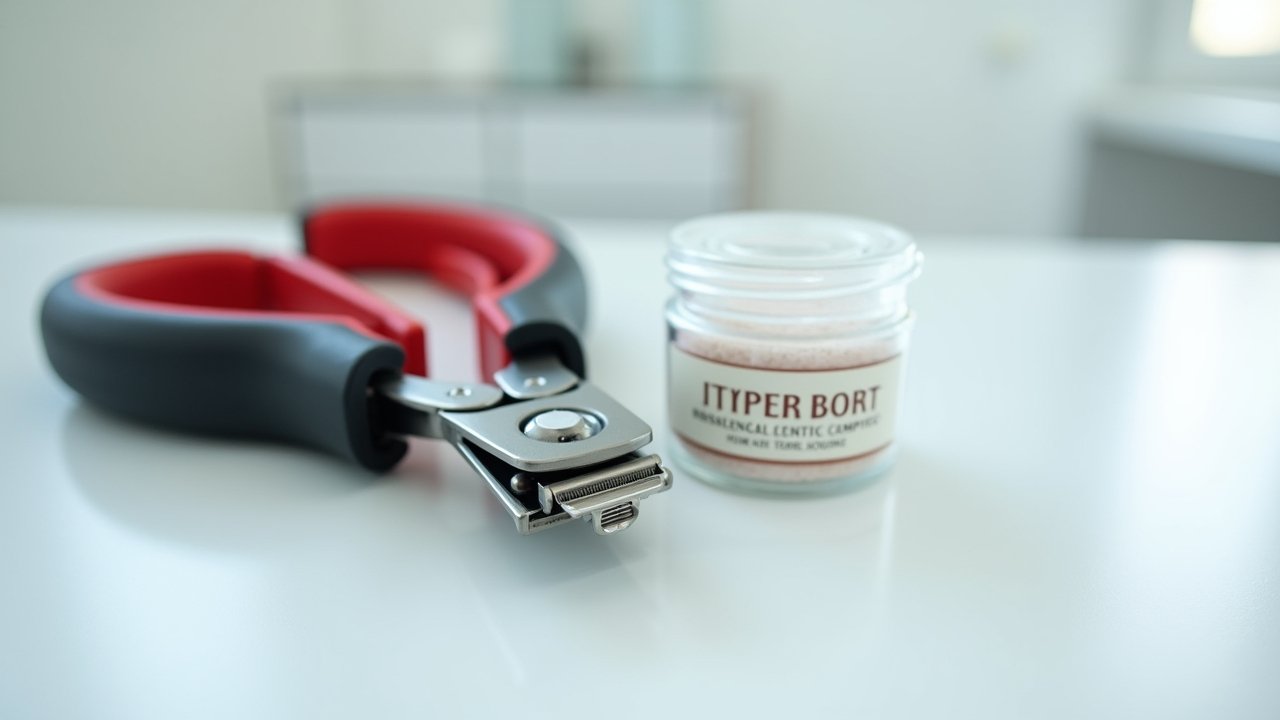
Don’t overcomplicate this. When I first started, I bought like five different gadgets and most of them collected dust. Here’s what you really need to cut dog nails safely:
- A quality pair of dog nail clippers — either guillotine-style or scissor-style depending on your dog’s size
- Styptic powder (like Kwik Stop) for accidents — trust me, you’ll want this nearby
- A nail grinder or file for smoothing rough edges
- High-value treats because bribery is totally acceptable here
I personally prefer scissor-style clippers for Max because they give me more control. For smaller dogs, the guillotine type works great. And a nail grinder is a lifesaver if your dog is terrified of the clipping sound.
Step-by-Step: How to Trim Your Dog’s Nails Safely
Alright, here’s where the rubber meets the road. First, get your dog comfortable — I usually do this after a walk when Max is tired and less likely to wrestle me. Have your treats ready and your clippers within reach.
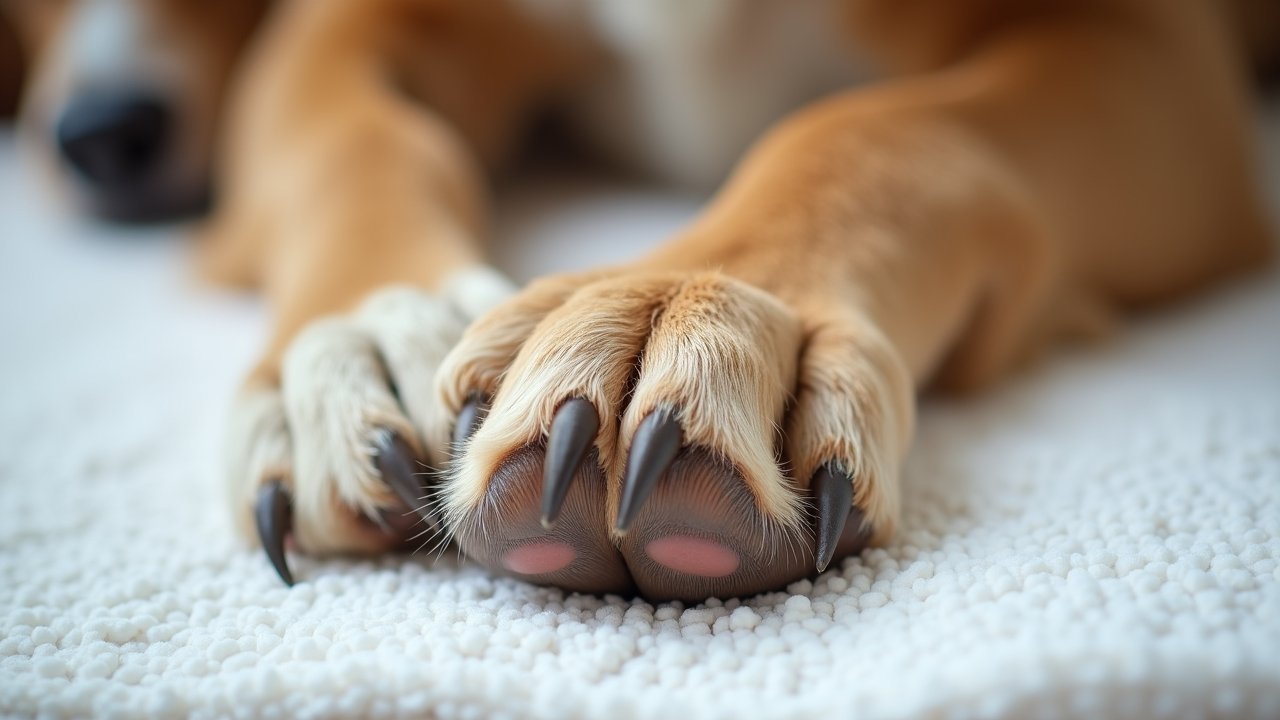
Gently hold your dog’s paw and identify the quick — that’s the pink blood vessel inside the nail. On dogs with light-colored nails, you can actually see it pretty easily. Dark nails are trickier, and that’s where I messed up big time early on.
Clip small bits at a time, maybe 1-2 millimeters per cut. It’s way better to take too little than too much. Angle your clippers at roughly 45 degrees and cut below the quick, then reward your dog after each paw.
What If You Hit the Quick?
Okay so this happened to me on my third attempt ever, and I panicked way harder than Max did. There was blood, I was apologizing profusely, it was a whole scene. But here’s what you do — stay calm, apply styptic powder directly to the nail, and hold gentle pressure for about 30 seconds.
The bleeding usually stops quickly. Your dog will be fine, even if you feel terrible about it for three days straight like I did. The ASPCA recommends keeping styptic powder on hand for exactly this reason.
Tips That Made Everything Easier for Me
Desensitization was a game-changer. For about a week before I even attempted clipping, I just touched Max’s paws, held the clippers near them, and gave treats. This got him used to the whole process without any actual trimming happening.
Advertisements
Another thing — don’t try to do all four paws in one sitting when you’re starting out. I did one paw a day for the first month. Some people think that’s overkill but it kept both of us from getting frustrated, and eventually the whole routine became no big deal.
Your Dog’s Paws Will Thank You
Learning to trim dog nails at home was honestly one of the best pet-parent skills I ever picked up. It saves money, reduces stress for your pup, and keeps their paws healthy. Every dog is different though, so adapt these tips to what works for your furry friend.
Just remember — go slow, stay patient, and always have that styptic powder ready. If you’re ever unsure about your dog’s nail health, a quick vet visit never hurts. And hey, if you found this helpful, head over to Paws Primer for more practical tips on keeping your pup happy and healthy!