Advertisements
Here’s a fun fact that honestly blew my mind — roughly 20% of dogs suffer from some form of ear disease, and certain breeds are way more prone to it than others. I learned this the hard way with my Cocker Spaniel, Benny, who spent half his first year shaking his head like he was at a rock concert. If you’ve got an infection-prone pup, learning how to clean dog ears properly isn’t optional — it’s basically survival.
Why Some Dogs Just Can’t Catch a Break With Ear Infections
So not all dogs are created equal when it comes to ear health. Breeds with long, floppy ears like Basset Hounds, Cocker Spaniels, and Labrador Retrievers tend to trap moisture and debris in the ear canal, which creates a perfect little paradise for bacteria and yeast. Dogs that swim a lot or have allergies are also sitting ducks for chronic otitis externa.
I remember Benny’s first ear infection — I thought he just had an itch. By the time I noticed the brownish discharge and that awful yeasty smell, the vet told me it had been brewing for a while. That visit cost me $280 and a solid dose of guilt. The AKC has a great breakdown of why some dogs are more susceptible if you want to dig deeper into the science behind it.
What You Actually Need to Clean Dog Ears Safely
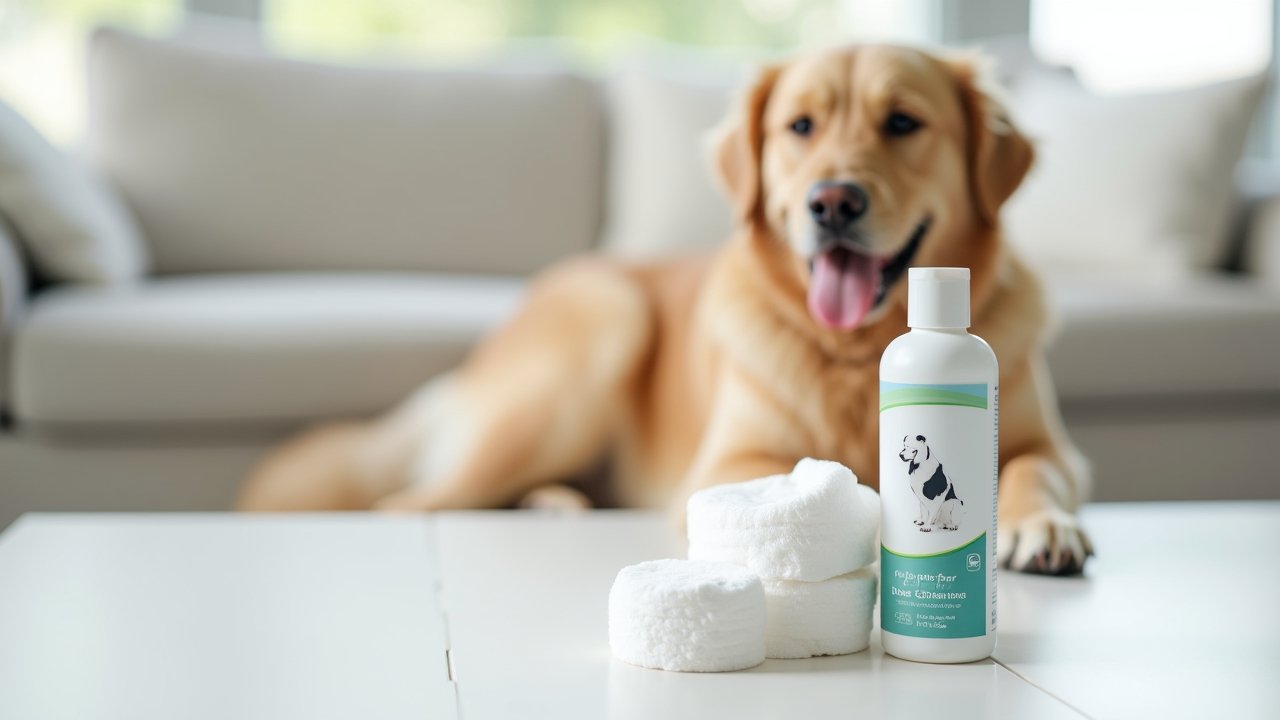
Before you go sticking anything into your dog’s ear, let’s talk supplies. You don’t need fancy stuff, but you do need the right stuff. Here’s my go-to kit:
- A vet-approved ear cleaning solution (never use hydrogen peroxide or alcohol — trust me on this one)
- Cotton balls or gauze pads
- Treats for bribery, because yeah, your dog’s gonna hate this at first
- A towel, because things get messy
One mistake I made early on was using Q-tips. Seemed logical, right? Nope. I ended up pushing wax and gunk deeper into Benny’s ear canal, which made everything worse. The AVMA recommends sticking to cotton balls to avoid damaging the eardrum.
My Step-by-Step Routine for Infection-Prone Ears
Alright, here’s how I do it now after years of trial and error. This routine has honestly kept Benny infection-free for over two years, and I’m kind of proud of that.
Step 1: Get your dog calm and comfortable. I usually do this after a walk when Benny’s tired. Flip that ear flap up gently and take a quick look inside — you’re checking for redness, swelling, or nasty discharge.
Step 2: Squeeze a generous amount of ear cleaner into the ear canal. Don’t be shy with it. Then massage the base of the ear for about 20-30 seconds — you’ll hear a satisfying squishing sound that means its working.
Step 3: Let your dog shake it out. This is where the towel comes in handy because the walls will get splattered otherwise. After the shake, use a cotton ball to gently wipe away any remaining debris from the outer ear.
Step 4: Reward heavily. Like, go overboard with the treats. You want your dog to associate ear cleaning with good things happening.
How Often Should You Be Doing This?
For infection-prone dogs, I clean ears once a week — sometimes twice if Benny’s been swimming or it’s been super humid. Dogs without chronic ear issues can probably get away with every two to four weeks. But honestly, your vet knows your dog’s ears better than any blog post, so ask them for a personalized schedule.
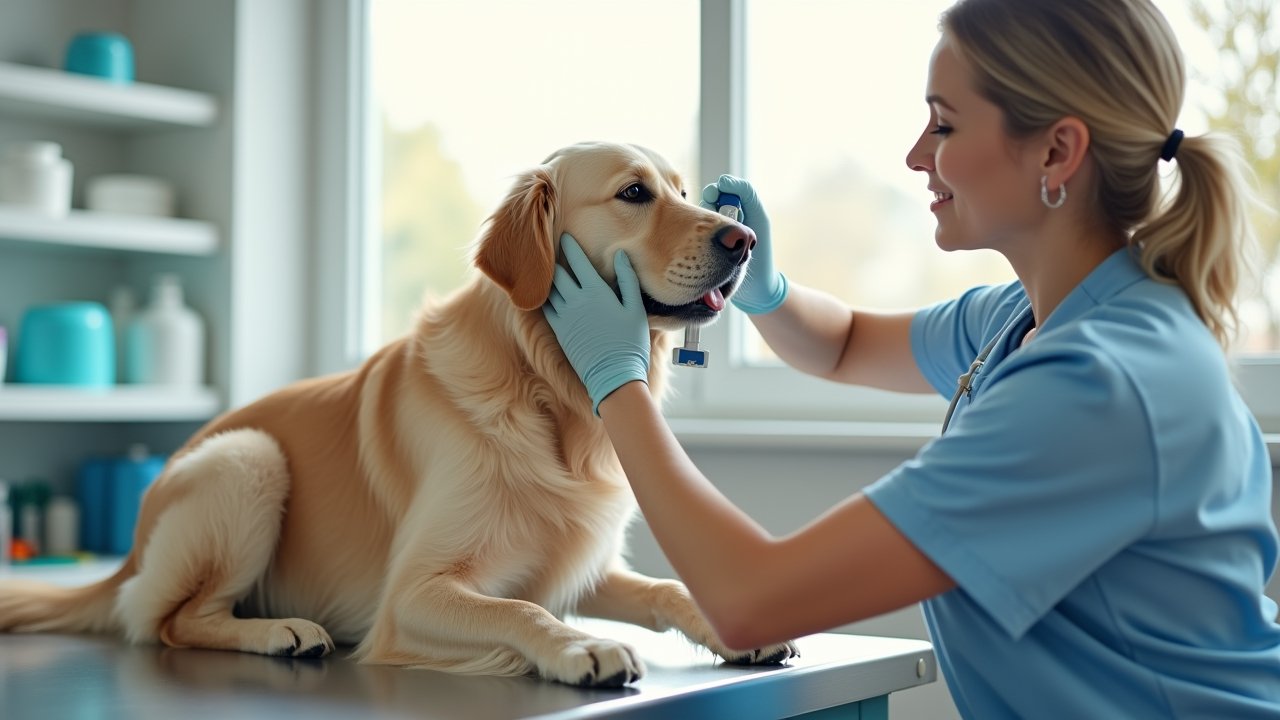
Warning Signs You Shouldn’t Ignore
If you notice persistent head shaking, foul odor, swelling, or your dog yelping when you touch their ears, stop the home cleaning routine and get to the vet. These could be signs of a deeper ear infection or even a ruptured eardrum. Cleaning an infected ear without proper medication can actually make things a whole lot worse.
Your Dog’s Ears Will Thank You Later
Advertisements
Look, keeping up with ear hygiene for an infection-prone dog feels tedious sometimes. There were nights I really didn’t want to wrestle Benny into position for a cleaning session. But consistent preventive ear care has saved us countless vet visits, antibiotics, and honestly a lot of heartache watching him be uncomfortable.
Every dog is different though, so tweak this routine to fit your pup’s specific needs and always loop your veterinarian into the conversation. And please — if something looks or smells off, don’t play doctor at home.
Want more practical tips on keeping your furry friend healthy and happy? Head over to the Paws Primer blog for more guides written by someone who’s made all the mistakes so you don’t have to!